Hey there! As a supplier of planetary mixers, I often get asked about how to install the bowl of a planetary mixer. It might seem like a daunting task, but with the right guidance, it's actually a piece of cake. In this blog, I'll walk you through the whole process step by step.
First off, let's talk a bit about planetary mixers. They're super versatile machines used in a wide range of industries, from food production to pharmaceuticals. Whether you're looking for a Laboratory Planetary Mixer for your research lab or a Planetary Mixer 200L for large - scale production, we've got you covered. And if you need a mixer that can work under vacuum conditions, our EXJ Series Vacuum Planetary Mixer is a great option.
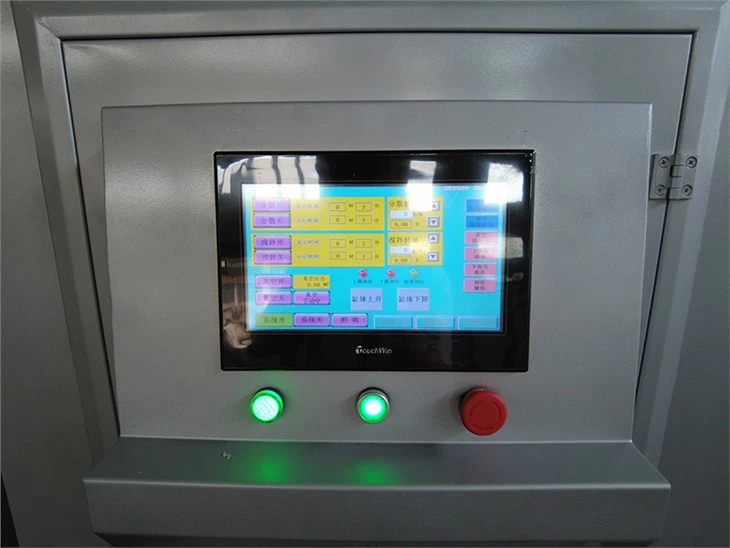
Step 1: Preparation
Before you start installing the bowl, make sure you've got all the necessary tools. Usually, you'll need a simple set of wrenches. Check the user manual that came with your planetary mixer to see if there are any specific tools required. Also, find a clean and stable surface to work on. You don't want the mixer to tip over while you're installing the bowl.
Next, take a good look at the bowl and the mixer base. Inspect the bowl for any damages or defects. If you notice anything wrong, contact our customer service right away. On the mixer base, locate the area where the bowl is supposed to be installed. There are usually clear markings or guides to show you where it fits.
Step 2: Cleaning
It's a good idea to clean both the bowl and the mixer base before installation. Use a mild detergent and a soft cloth to wipe down the surfaces. This helps remove any dirt, dust, or debris that could interfere with the proper installation or affect the performance of the mixer. Make sure to dry the surfaces thoroughly to prevent rust or corrosion.
Step 3: Aligning the Bowl
Now, it's time to align the bowl with the mixer base. Carefully lift the bowl and place it over the designated area on the base. You'll notice that there are some alignment pins or grooves. Make sure these are lined up correctly. If they're not aligned properly, the bowl won't fit securely, and the mixer might not work as it should.
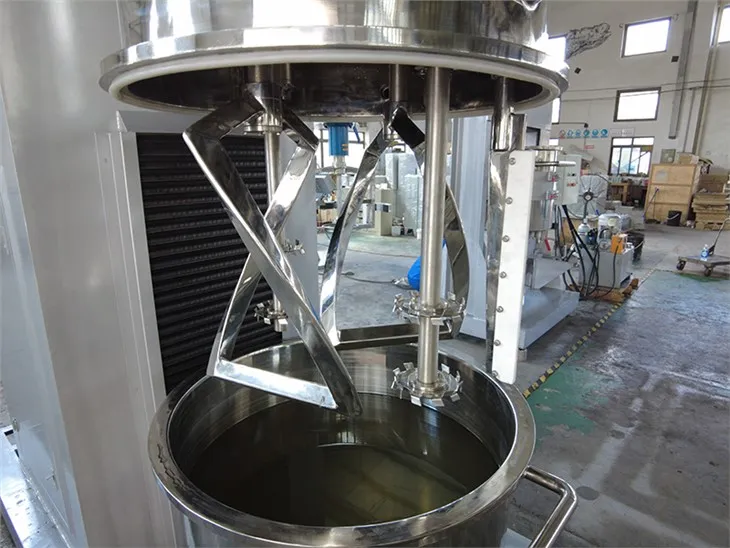
Some planetary mixers have a locking mechanism to hold the bowl in place. If your mixer has one, make sure it's in the unlocked position before you start aligning the bowl. Once the bowl is in the right position, you can start engaging the locking mechanism.
Step 4: Securing the Bowl
Once the bowl is aligned, use the wrenches to tighten the bolts or screws that hold the bowl to the mixer base. Don't over - tighten them, though. Just make sure they're tight enough to keep the bowl stable during operation. If you're not sure how tight to make them, refer to the user manual.
After tightening the bolts, give the bowl a gentle shake to make sure it's firmly attached. If it feels loose, double - check the bolts and tighten them a bit more.
Step 5: Testing
Once the bowl is installed, it's time to test the mixer. Before you turn it on, make sure there are no loose parts or tools inside the bowl. Plug in the mixer and turn it on at a low speed. Let it run for a few minutes and observe how the bowl behaves. Listen for any strange noises or vibrations. If everything seems normal, gradually increase the speed and run the mixer for a bit longer.
If you notice any issues during the test, such as excessive vibration or unusual noises, turn off the mixer immediately. Check the installation again to see if there are any problems. If you can't figure out what's wrong, don't hesitate to reach out to us.
Troubleshooting Tips
Sometimes, things don't go as smoothly as planned. Here are some common issues you might encounter during the installation and how to fix them:
- Bowl won't fit: If the bowl doesn't seem to fit properly, check the alignment pins and grooves again. Make sure they're clean and free of any debris. If the problem persists, it could be a manufacturing defect. Contact our support team, and we'll help you resolve the issue.
- Loose bowl: If the bowl feels loose after installation, check the bolts or screws. Make sure they're tightened correctly. If they are, there might be a problem with the locking mechanism. Refer to the user manual for instructions on how to adjust or repair it.
- Strange noises during operation: This could be a sign that the bowl is not installed correctly or that there's something wrong with the mixer. Stop the mixer immediately and check the installation. If the problem persists, contact our technical support.
Conclusion
Installing the bowl of a planetary mixer isn't as hard as it might seem. By following these steps and taking your time, you can get it done without any major issues. Remember, if you have any questions or run into problems during the installation process, our team of experts is here to help.
If you're in the market for a new planetary mixer or need any replacement parts, we're your go - to supplier. We offer high - quality products at competitive prices. Whether you need a small Laboratory Planetary Mixer or a large - capacity Planetary Mixer 200L, we've got the right solution for you. And don't forget about our EXJ Series Vacuum Planetary Mixer if you need vacuum - mixing capabilities.
If you're interested in purchasing a planetary mixer or have any questions about our products, feel free to contact us. We're always happy to have a chat and discuss your specific needs.
References
- Planetary Mixer User Manual
- Industry - standard guidelines for mixer installation


